Contact us

תודה על הפנייה, נציג יצור איתך קשר טלפוני בהקדם.
Oops! Something went wrong while submitting the form.
Please refresh and try again.
Please refresh and try again.
ZenGo Wallet Guide
Some refer to the ZenGo wallet as the “best hot wallet in the world.”
Unlike other hot wallets, ZenGo is a “keyless” wallet, using multi-layered encryption technology, also known as Multi-Party Computation (MPC). In fact, ZenGo states that since the wallet was launched in 2018, there has not been a single hack or theft of crypto assets.
Based on preliminary research conducted by ZenGo, they found that users often struggle with managing and backing up their wallets.
The solution the company offers directly addresses this central user challenge, while maintaining the highest possible level of wallet security.
MPC stands for Multi-Party Computation, a security method involving multiple parties in cryptographic processes.
The system enables secure self-custody by using a distributed key management setup that requires multiple components to sign transactions simultaneously, such as your mobile phone and ZenGo’s external server.
In this way, no single party has access to your private information.
The backup mechanism works accordingly, allowing for easy wallet recovery using your email and other pre-set security factors if needed.
Don't worry – ZenGo does not have exclusive access to your private keys, so control of the wallet remains entirely in your hands.
The app is user-friendly and intuitive, with 24/7 live customer support available in English and French.
Biometric authentication makes the experience even easier – especially for users who sometimes struggle with hot wallets.
The wallet supports a wide range of operations, such as transaction history and sending coins, as well as storage for over 50 types of cryptocurrencies.
Supported assets include Bitcoin, Ethereum, Bitcoin Cash, and USDT, among many others.
Indeed, ZenGo’s user base continues to grow daily, with over 800,000 active and satisfied users.
This guide will cover the ZenGo hot wallet, explain the steps for installation and backup, and present the main screens and key functions of the app.


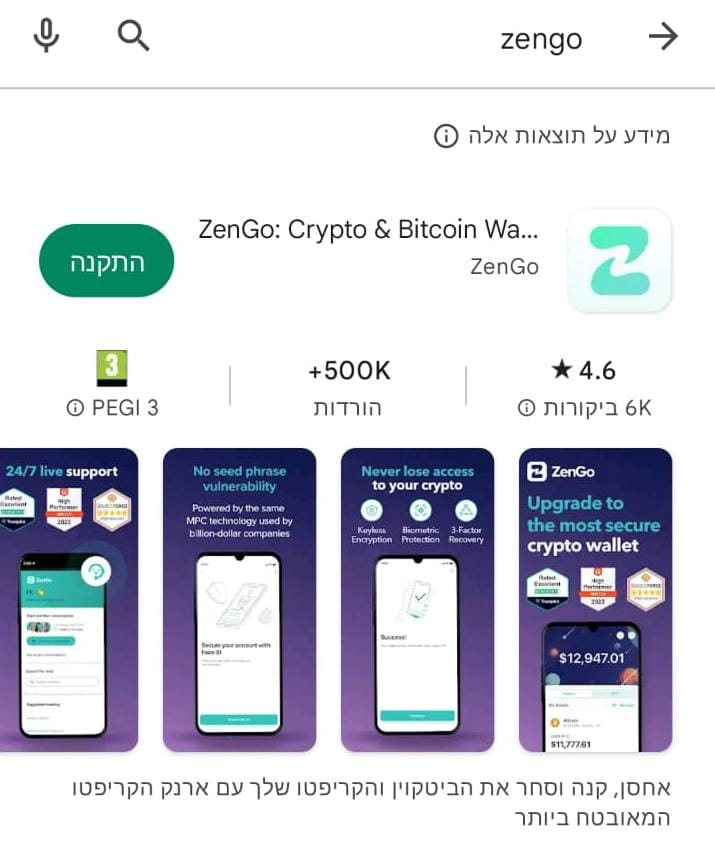
As mentioned, we're talking about the ZenGo wallet. This wallet is free and supports Bitcoin, Ethereum, and more. Click the official ZenGo wallet link — it will take you to the app store, where you can download the wallet to your mobile device.


During installation, you’ll need to activate a protection pattern for your wallet, and then identify yourself using your email address.


At this point, you’ll need to verify your email address using two-factor authentication via a link you’ll receive. The email from ZenGo includes a button labeled "Tap to confirm." Click it, and you’ll be redirected to the app after your email is verified.
After verifying your identity, you’ll need to back up your wallet, just like any private wallet.
In ZenGo, the backup process is a bit different — instead of the usual 12/24-word recovery phrase, ZenGo uses facial or fingerprint scan. Additionally, it's recommended to sync the backup with Google Drive / iCloud / Dropbox. You can even add a family member by scanning their face as an extra recovery method.
Once the backup is complete, you’re ready to fill your wallet with crypto.


Just like you need an email address to receive emails, to receive crypto you need an address.
Each coin has its own address — sometimes even multiple addresses — but they all lead to the same wallet.
If you want to receive Bitcoin, for example, you’ll need to find your Bitcoin address and provide it to the sender.
To find the address, go to the main wallet screen that displays all supported coins.
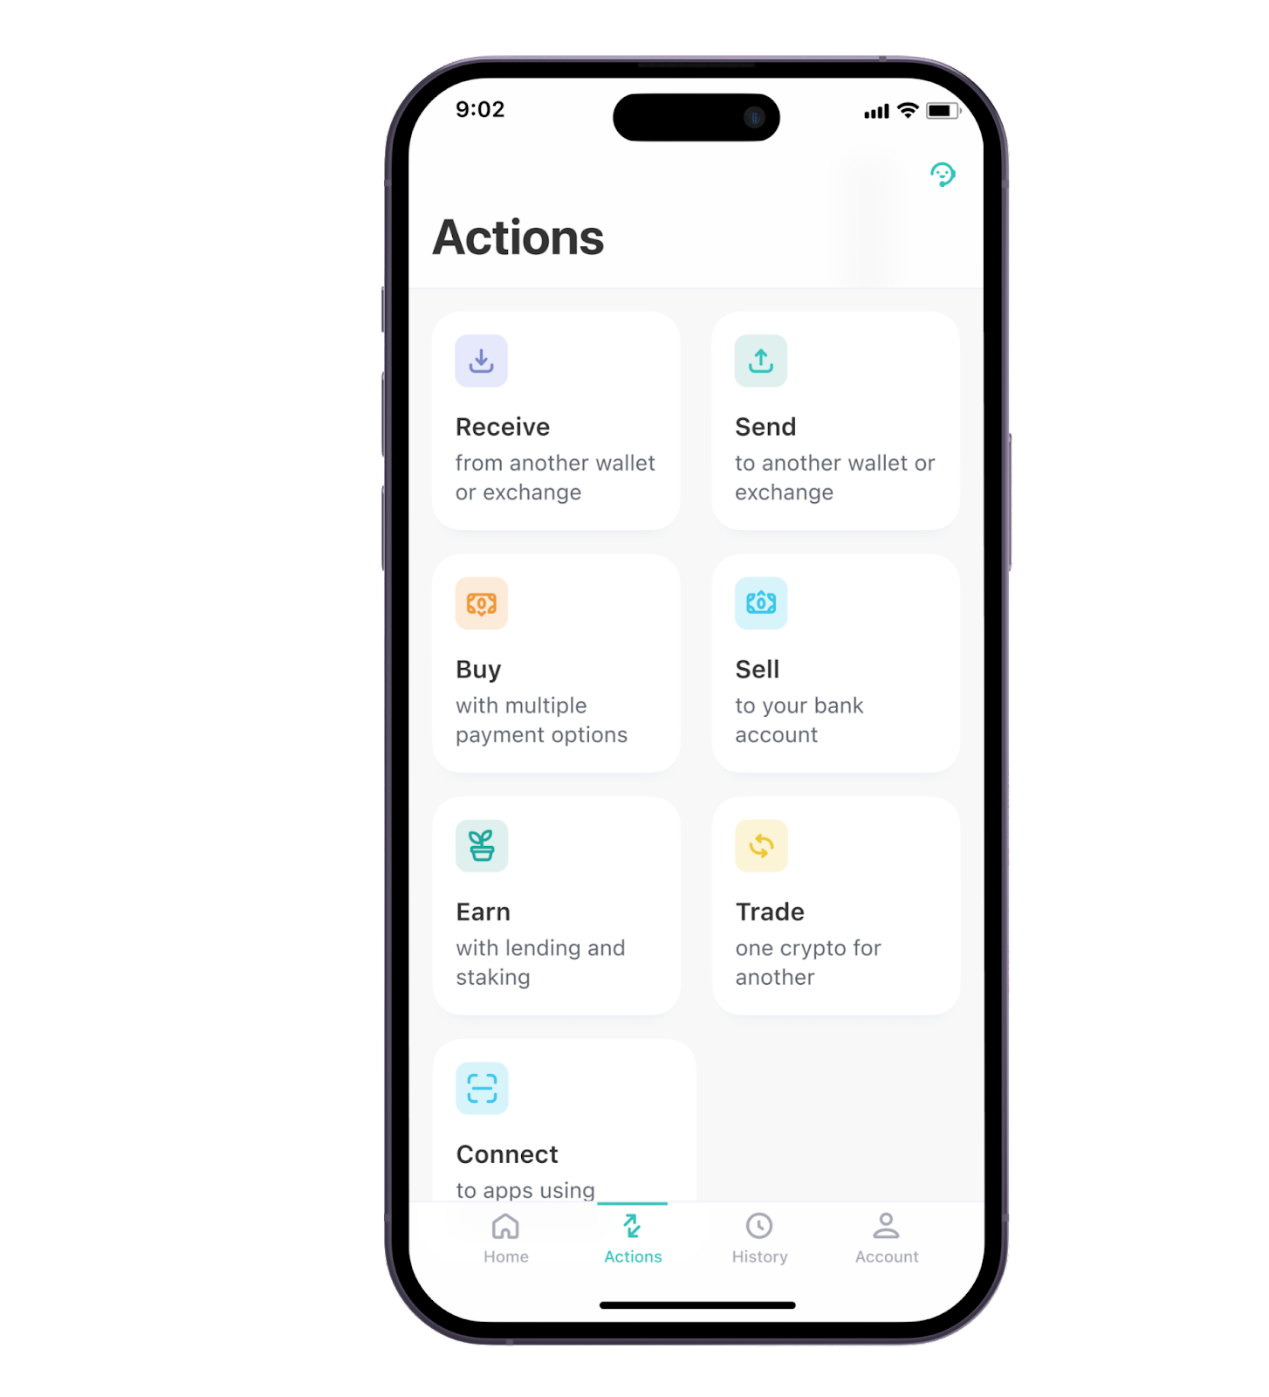
Tap the "Actions" button (the one that looks like arrows), then tap "Receive."
You’ll be shown a list of coins — choose Bitcoin.
The address shown is your public address. As you may know from the previous Exodus Wallet guide, the QR code also represents the public address in image format — this code can be used at our ATMs to buy crypto.
• Always send both the QR code and the text address. Never type the address manually.
• When sending your address to someone (e.g., by email), double-check that the address is correct and no characters were accidentally deleted.
• Make sure to send the correct address for the specific coin and network you're using.
• Before sending the full amount, ask the sender to send a small test amount first to ensure everything works. Once that small amount is received successfully, ask for the remaining funds.
• Sending to the wrong address = lost funds. Crypto transactions cannot be reversed.
• Once crypto is sent to your address, the transaction will appear in your wallet with the status "Receiving."


To send cryptocurrencies, tap again on the "Actions" button (the one that looks like arrows), then tap "Send."
Then, select the coin you want to send.
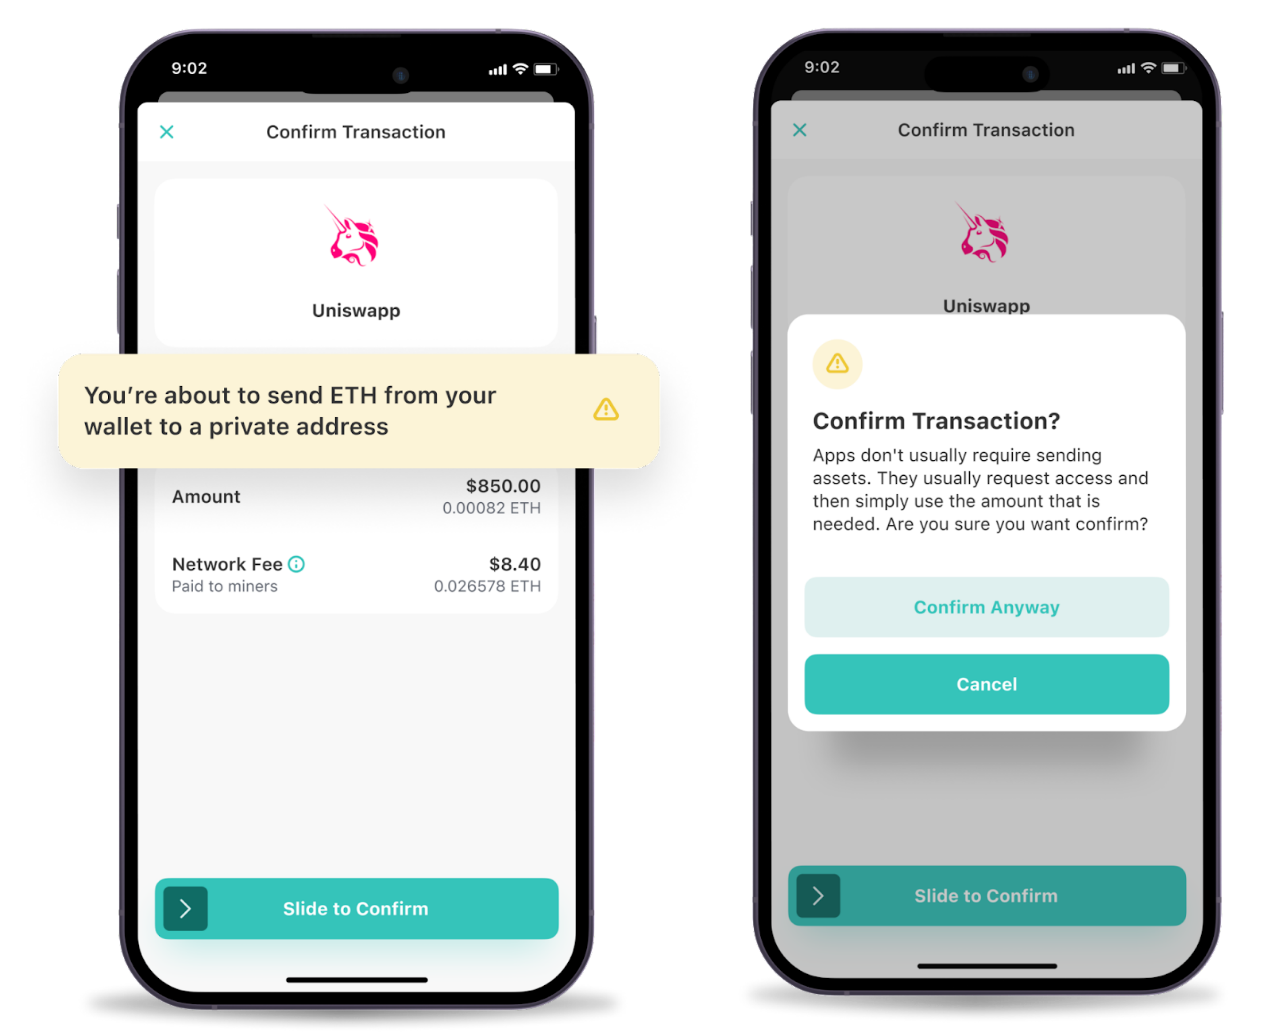
For example, if you want to send Bitcoin, enter the recipient’s Bitcoin address, the amount you want to send, confirm the transaction, and you’ll receive a confirmation message that the crypto has been sent.


• Home Button:
This screen shows your total wallet balance. It also lets you send and receive the most popular cryptocurrencies like Bitcoin and Ethereum. It also has an option to display your NFTs, if you own any.
• History Button:
This screen shows your transaction history (send/receive).
You can view the transaction status, fees paid, and the sending/receiving address.
• Account Tab:
Here you can find your email, language settings, backup options, and other preferences.
You can edit your email or add an additional backup email address.
Under the Recovery Kit option, you can view your backup options:
o Run a facial scan check to ensure the biometric ID is still valid
o Add a trusted person’s facial scan
o Sync with additional cloud backup options such as iCloud / Google Drive / Dropbox

Using a digital wallet is, overall, quite simple. With a bit of patience and willingness to learn, almost anyone can manage and use their own crypto independently.
ZenGo offers many additional features not covered in this guide — we highly recommend visiting the company’s website and checking out their detailed tutorials:
ZenGo - The Most Secure Crypto Wallet
If you need assistance, feel free to visit one of Bitcoin Change's physical branches.
Our customer service representatives will be happy to help with anything — from setting up the wallet to receiving and sending crypto.
The only part of the process we cannot assist with is the backup setup, as this is sensitive information meant only for you.
Wishing you safe and enjoyable crypto usage!